


FireBlock's First Project
Update time:2018-04-13 Views:5353
Introduction
After FireBlock connects with Fireduino board successfully, we now introduce how to control Fireduino board by FireBlock, with some simple examples.
Blink
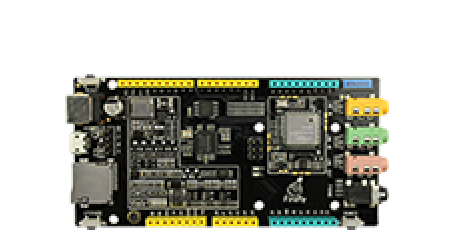
The classic example is blinking the LED. Fireduino has two builtin LEDs, which connect with digital pin 3 and 13 correspondingly. We can test the LEDs without external circuits.
Blocks
Drag all the blocks needed to the scripting area. Please note, you may need to scroll the gray scroll bar on the right side to see the block.
| Category | Block |
|---|---|
 
|
|
Put all the blocks in the scripting area:

Build
We control the LED with digital pin 3 below.
Click the dropdown icon of ![]() . In the popup list, select 3 (Note: if the popup list is empty, it means that FireBlock is unable to connect with Fireduino successfully, hence there is no pin information fetched from the board.):
. In the popup list, select 3 (Note: if the popup list is empty, it means that FireBlock is unable to connect with Fireduino successfully, hence there is no pin information fetched from the board.):

The LED is on with low voltage input, and off with high.
The second parameter of ![]() accepts boolean type value of "false" and "true", which coresponds to the "low" and "high" voltage on the board.
accepts boolean type value of "false" and "true", which coresponds to the "low" and "high" voltage on the board.
Now drag ![]() into the second slot:
into the second slot:

and get:

Put beneath :

Then put all the rest blocks into with the order below:

Finally get:

All done!
Run
Before run, please make sure FireBlock has connected with Fireduino board.
Click the flag ![]() above the stage to run. There is light glow around the blocks under running, as shown below:
above the stage to run. There is light glow around the blocks under running, as shown below:

The LED will blink now.
To stop, please click the ![]() above the stage.
above the stage.


