


Senial Debug
Update time:2018-03-12 Views:5560
1 Optional Adapter
In online shops, there are many USB to serial adapters, which are categorized by the following chips:
PL2303
CH340
Generally speaking, adapters using CH340 chipset, are more stable and expensive Firefly official use CP2104.
2 Hardware Connection
Use Firefly official serial port adapter,there are three wires with different colors:
Black: GND,Ground, connect to GND pin of the board.
White: TXD,Transmit,connect to TX pin of the board.
Green: RXD,Receive, connect to RX pin of the board.
Note: If you use other serial port adapter TX and RX can not input and output problems, you can try to TX and RX link line
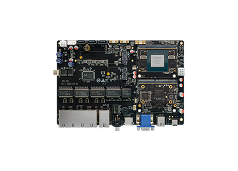
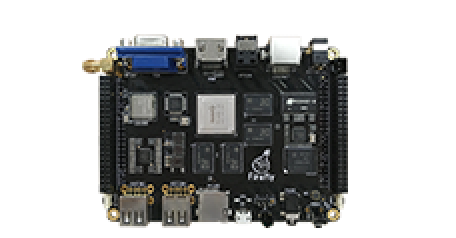
Firefly-RK3288 Connect GND, TX, RX for the red frame

Firefly-RK3288-Reload Connect GND, TX, RX for the red frame

3 Parameter Setting
Firefly-RK3288 use the following serial parameters:
Baud rate: 115200
Data bit: 8
Stop bit: 1
Parity check: none
Flow control: none
4 Serial debugging under Windows
4.1 Install Driver
Download driver and install:
If PL2303 does not works under Win8, please find drivers with version 3.3.5.122 or before.
Plug in the adapter. OS will prompt that new hardware is found and being initialized. When it finish, you can find the new COM port in the Device Manager: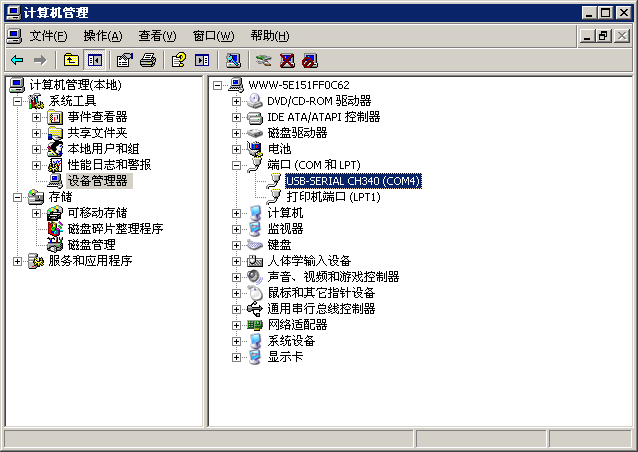
4.2 Install Software
Under Windows, the common softwares with serial port support are putty and SecureCRT. Putty is open source software. We give a brief introduction here. The use of SecureCRT is similar.
Download putty from [3]. We recommend to download putty.zip, which contains other useful utilities.
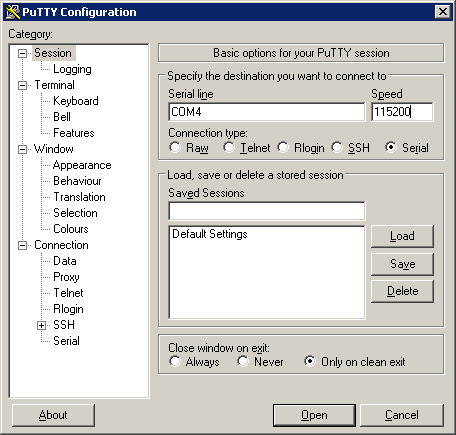
Extract and run PUTTY.exe.
1.Select "Connection type" to "Serial".
2.Modify "Serial line" to the COM port found in the device manager.
3.Set "Speed" to 115200.
4.Click "Open" button.
5 Serial debugging under Ubuntu
There are multiple choices under Ubuntu:
picocom
minicom
kermit
picocom is light weight, easy to use. We introduce it here, whereas others share the similar usage.
Install:
sudo apt-get install picocom
Connect the serial adapter, and check the corresponding serial device file by checking:
$ ls /dev/ttyUSB*
/dev/ttyUSB0
We use /dev/ttyUSB0 in the following examples.
Run:
$ picocom -b 115200 /dev/ttyUSB0
picocom v1.7

port is        : /dev/ttyUSB0
flowcontrol    : none
baudrate is    : 115200
parity is      : none
databits are   : 8
escape is      : C-a
local echo is  : no
noinit is      : no
noreset is     : no
nolock is      : no
send_cmd is    : sz -vv
receive_cmd is : rz -vv
imap is        :
omap is        :
emap is        : crcrlf,delbs,

Terminal ready
Messages above say that Ctrl-a is the escape key. Pressing Ctrl-a Ctrl-q can quit the terminal. Besides Ctrl-q, there are several control commands frequently used:
Ctrl-u : increase baud rate
Ctrl-d : decrease baud rate
Ctrl-f : cycle through flow controls (RTS/CTS, XON/XOFF, and none).
Ctrl-y : cycle through parity check (even, odd and none).
Ctrl-b : cycle throught data bit (5, 6, 7, 8).
Ctrl-c : toggle local echo.
Ctrl-v : show program options (like baud rate, data bits, etc).


