Starter Guide
Update time:2018-03-13 Views:6754
1 Accessories
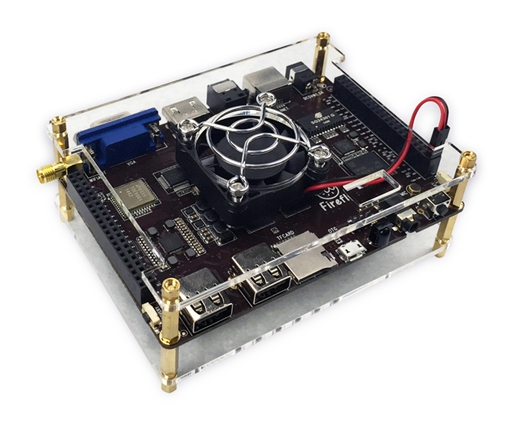
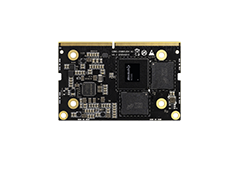
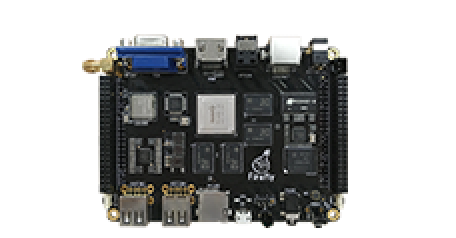
The standard set of Firefly-RK3288 includes the following accessories:
Firefly-RK3288 board(1pcs)
USB interface power adapter
WiFi antenna
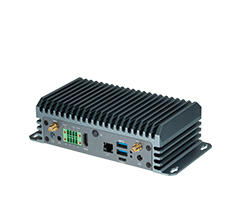
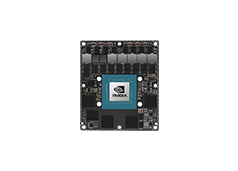
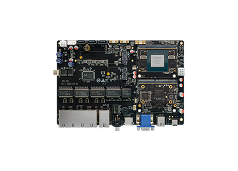
The standard set of Firefly-RK3288-Reload includes the following accessories:
Firefly-RK3288-Reload floor (1pcs)
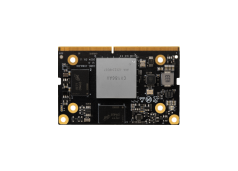
Firefly-RK3288-Reload core board (1pcs)
12V/2.5A DC power adapter
WiFi antenna
The optional accessories are:
Acrylic rack (to protect board)
5V/2.5A DC power adapter (support 220V/110V input)
Firefly serial port module
Additionally, the following accessories or devices are needed:
Display device
Display or TV supporting HDMI interface, and HDMI cable
Display or TV supporting VGA interface, and VGA cable
Network
100M/1000M ethernet cable, and corresponding router
WiFi router
Input devices
USB wire/wireless mouse/keyboard
Infrared remote control
Flash image, debugging
Micro USB cable
USB to serial adapter
2 Boot
After confirming all the connections are OK, plug the power adapter into the socket to power up the board. The board will boot automatically at the first power on.
Select "Shutdown" in Android system, keeping the board's power. Then we can boot Firefly-RK3288 by two ways:
Long press power button for more than 3 seconds
Press "power" button on the infrared remote control
During booting, the blue LED will light up, and four cute penguins will be shown on display, which indicates the quad-core CPU.
3 FAQ
3.1 How to Switch Microphones
In Firefly-RK3288, there are two sources of audio input. One is the little microphone on board, the other is the microphone in your headset. Android switches between them automatically by default.
You can modify the mode by writing different values to the mic_state node.Methods as below:
echo 1 > sys/class/es8323/mic_state/mic_state board mic
echo 2 > sys/class/es8323/mic_state/mic_state headphone mic
3.2 About VGA Auto Probe
Firefly-RK3288 can identify the configuration of the VGA display. However, if failing to read EDID (Extended Display Identification Data) from the display, it will use 1080P resolution by default.You can enter the
[Settings] -> [Display] -> [VGA Mode] to select the switching mode to manually adjust the VGA resolution.
 3.3 Firefly-RK3288-Reload dual HDMI output and HDMI input
There are three HDMI ports on the Firefly-RK3288-Reload chassis, two of which are HDMI outputs and one is HDMI input
Which HDMI1 RGB signal to HDMI, the main display device. HDMI2 RK3288 chip built-in HDMI, from the display device. HDMI1 default output resolution of 1080P, will not read the peripheral EDID information. HDMI2 can read peripheral EDID information, automatically select the matching output resolution. In the Android system, each HDMI output resolution can be manually adjusted in the system settings.
3.4 Abnormal boot and reboot cycle
It probably not enough supply current, please use the voltage of 5V, current is 2.5A ~ 3A power.
3.5 username and password of lubuntu
Username: root Password: firefly
Username: firefly Password: firefly
3.6 Wiki link address
http://en.t-firefly.com/doc/product/4.html
3.7 Git link address
https://bitbucket.org/T-Firefly/firefly-rk3288
3.8 RK3288 chip technical manuals
RK3288 chip manufacturers do not allow the opening of a complete chip technology manual, Firefly to provide users with some chip technical manual information, the user needs to enter:http://en.t-firefly.com/doc/product/info/252.html
3.9 Bluetooth voice calls and VoIP
Firefly-RK3288 does not support Bluetooth voice calls or VoIP.
3.10 MAC address programming
You can change MAC address of the Firefly-RK3288 by yourself, and you can program MAC address by UpgradeDllTool, which in SDK RKTools/UpgradeDllTool_Release_v1.3.tar.gz
3.11 About the fan
The fan of Firefly-RK3288 operating voltage is 5V, the black power line of fan connect to FAN- of Firefly-RK3288, and the red power line of fan connect to FAN+ of Firefly-RK3288. the FAN- and FAN+ directly connected with the Firefly-RK3288's power supply module,so the fan can not be controlled by software.